Install and Configure Ververica Agent
To install and configure the Ververica Agent in your Kubernetes environment, complete the following steps:
- Link your Ververica account with AWS Marketplace and subscribe to Ververica Cloud: Bring Your Own Cloud.
- Install the Ververica Agent (Pyxis) using Helm and verify its registration in the Ververica Portal.
- Create a new BYOC workspace.
Connect Your Ververica Account with AWS Marketplace
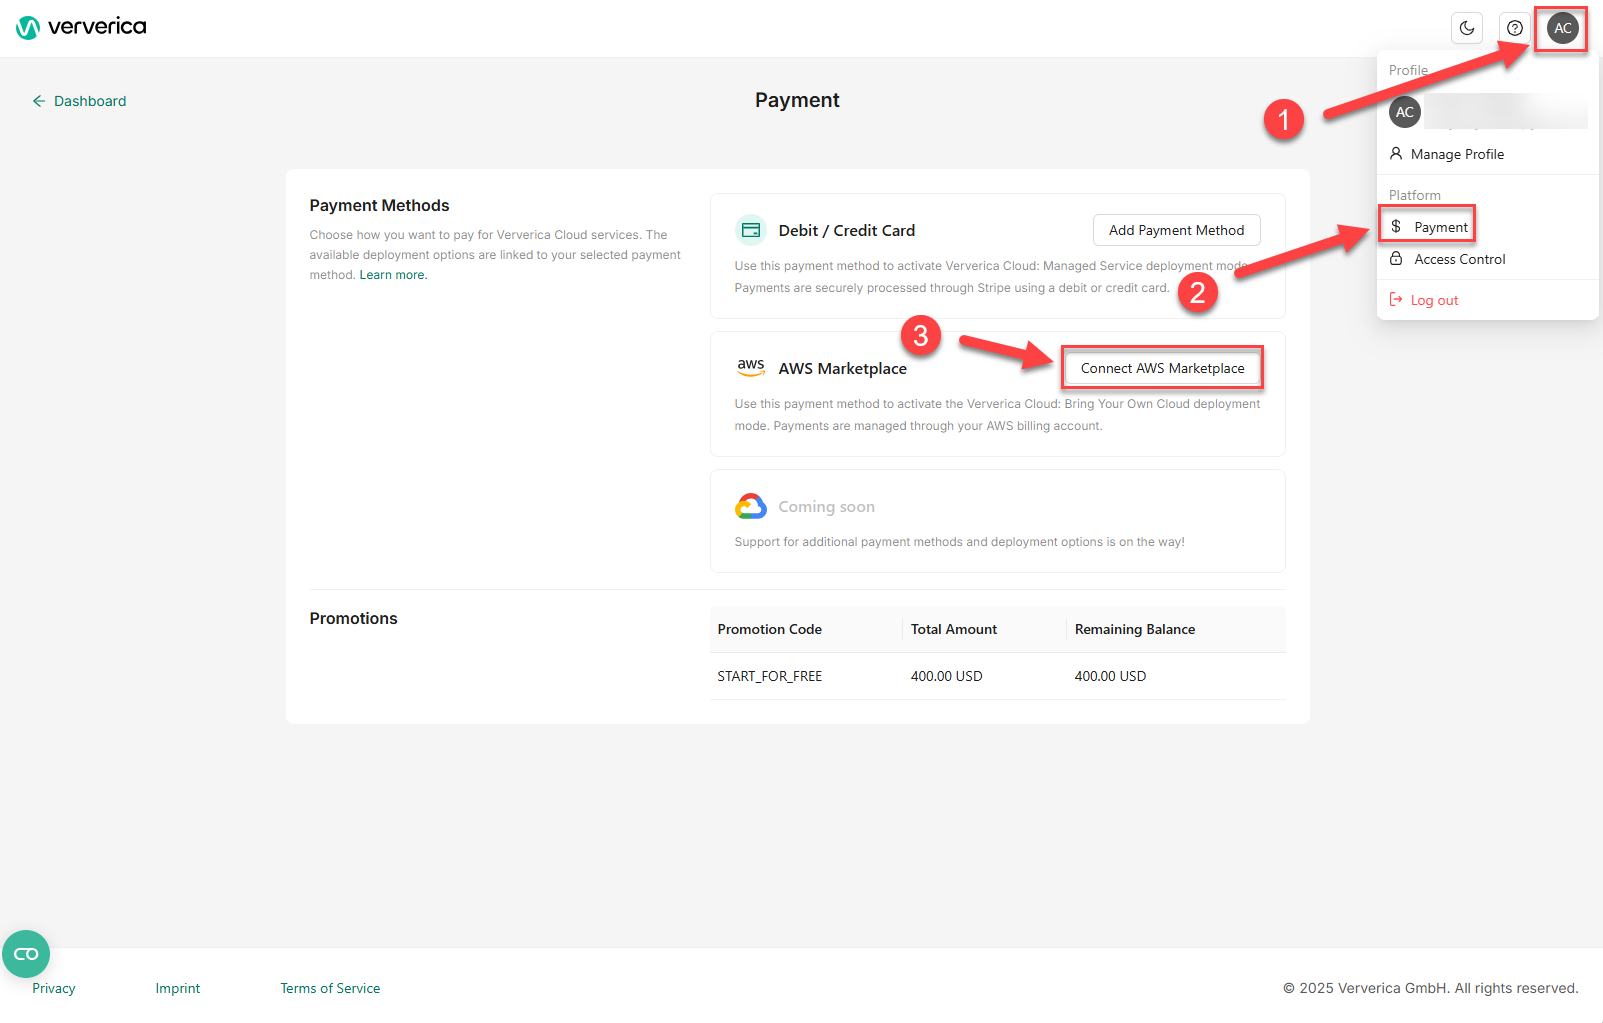
- Click the Profile icon on any page in the Dashboard to open the profile options dropdown.
- Go to Payment.
- Connect to AWS.
-
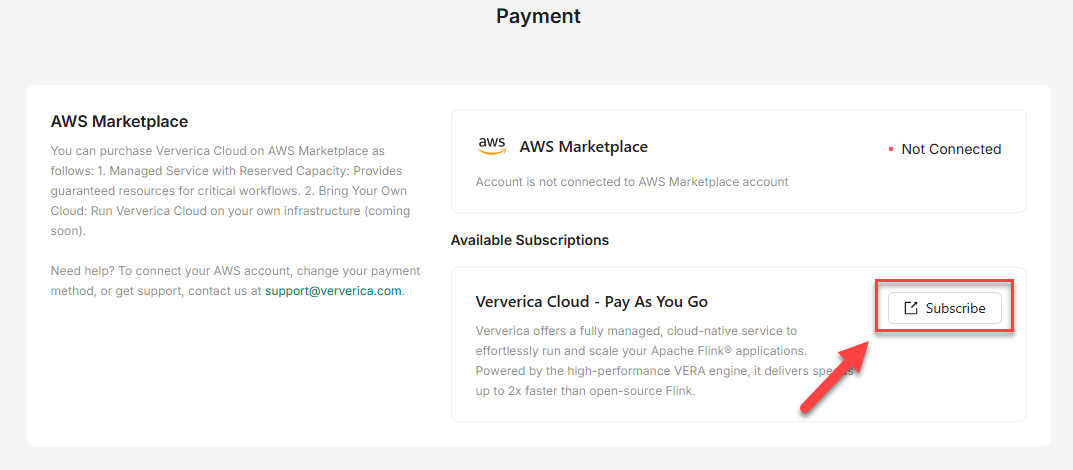
Click Subscribe. Ververica Cloud: Bring Your Own Cloud (PAYG) product page on AWS Marketplace displays, where you can subscribe to the product.
-
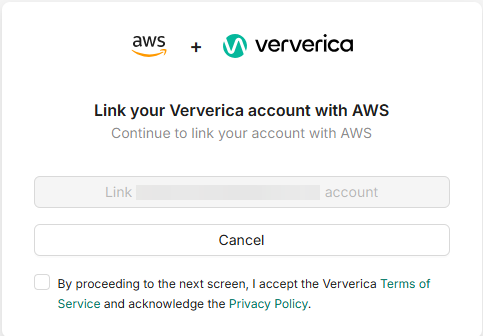
Once subscribed, AWS Marketplace redirects you to a page where you can link your Ververica account with AWS.
Register the Agent in the Ververica Portal
To register the agent, you must first link your Ververica account with AWS.
-
Open the registration page and follow the prompts to register the agent.
-
After registering, download the Helm
values.yamlfile from the portal.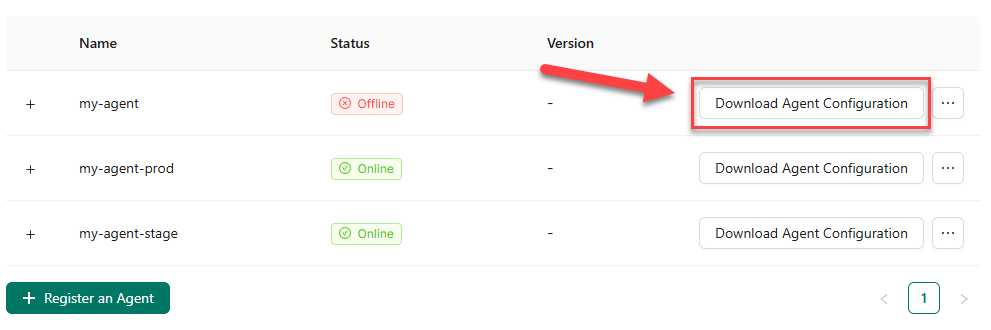
Update the Helm Values
Pyxis is an internal component of the Ververica Agent. When installing or upgrading Pyxis, you are deploying the same underlying Ververica Agent functionality. The name “Pyxis” may appear in Helm commands, configuration files, or logs, but it’s simply part of the standard agent installation.
In the downloaded values.yaml file, most fields will be pre-filled, except for the pyxisRoleArn field.
Manually add the pyxisRoleArn entry to the global section of values.yaml. For example:
global:
    ...
    pyxisRoleArn: "arn:aws:iam::<your-aws-account-id>:role/VVCAdminRole" # Note: Add this line to the downloaded configuration file.
    ...
Install Ververica Agent
Run the following Helm command to install or upgrade Pyxis :
helm -n <your-namespace> upgrade --install vv-agent oci://registry.ververica.cloud/agent-charts/vv-agent --version 1.8.2-1 -f ./values.yaml
Alternatively, instead of editing the file, you can pass pyxisRoleArn as a command argument:
helm -n <your-namespace> install vv-agent oci://registry.ververica.cloud/agent-charts/vv-agent
--version 1.8.2-1 --set global.pyxisRoleArn="arn:aws:iam::<your-aws-account-id>:role/VVCAdminRole"
--values ./values.yaml
Verify Agent Registration
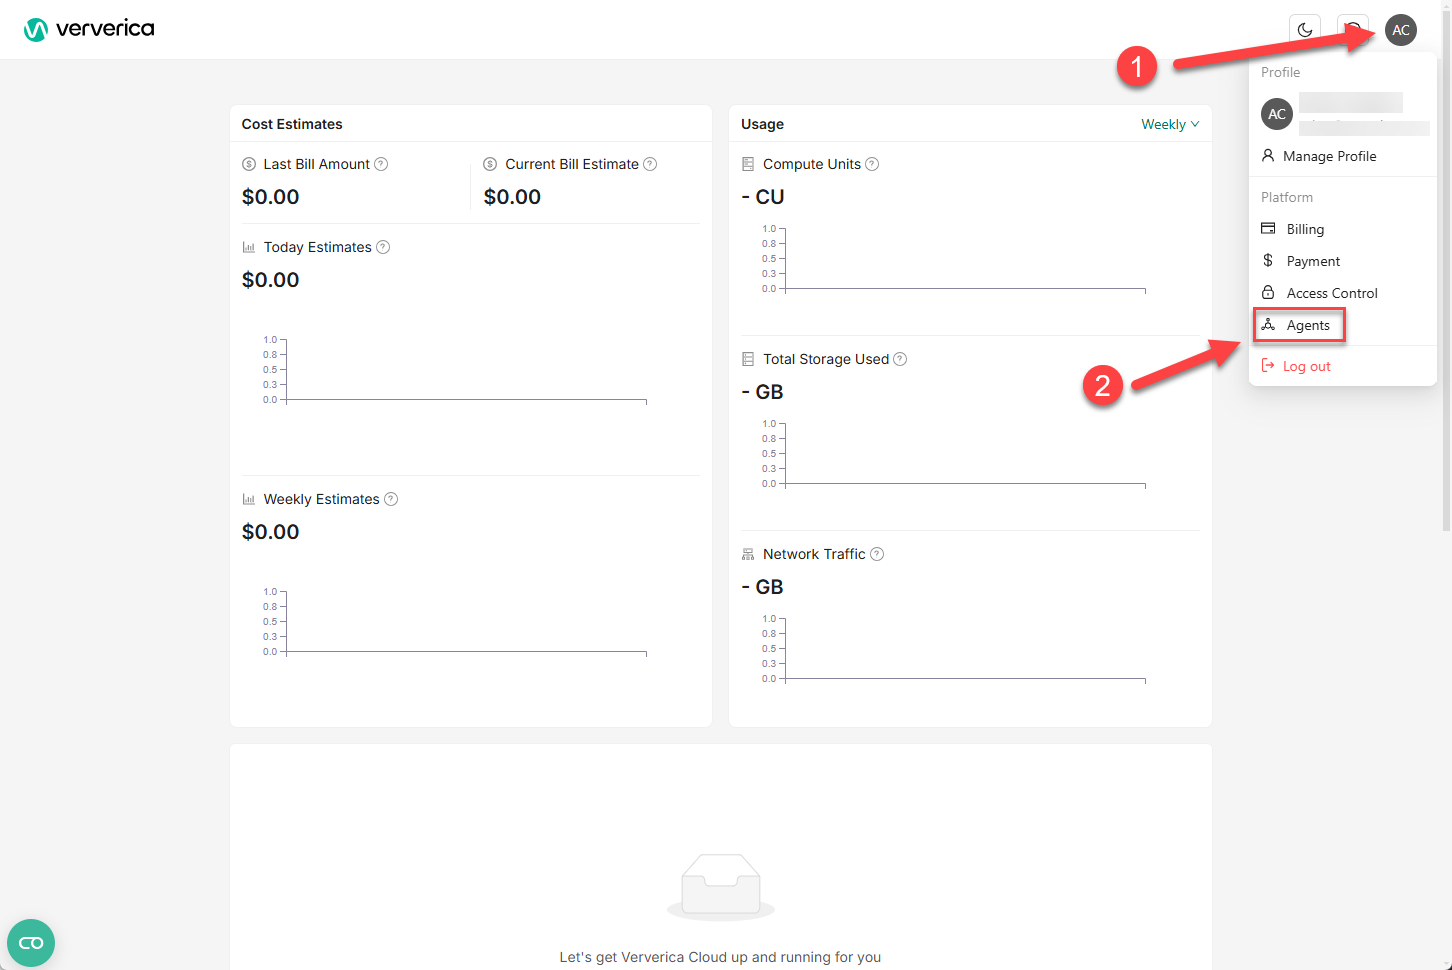
After the Agent contacts the Control Plane, its status changes to online. You can verify this by checking the Agents page in the Ververica Portal.
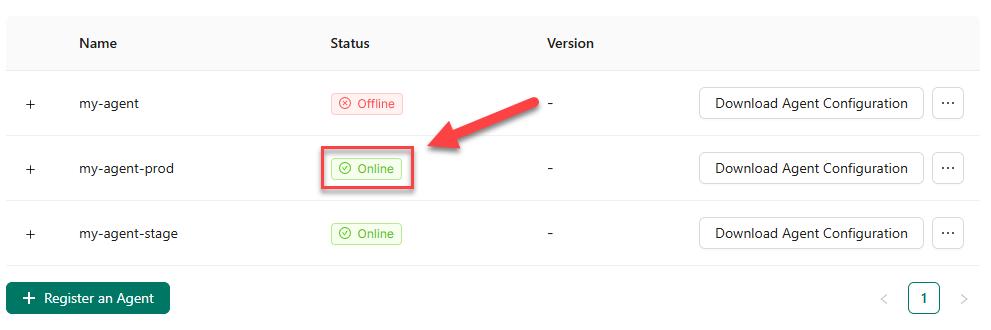
When the agent is online, it indicates that it has successfully registered and is ready for use.
Create a Workspace
Before you create a new BYOC workspace, you must first subscribe a Ververica BYOC product on AWS Marketplace to connect your Ververica account. If you have not completed this step, the platform will display warning messages and guide you through the process.
For now, only AWS is supported as a provider for the workspace.
When creating a new BYOC workspace, you must provide the following information:
-
Provider:
Specify the provider for the workspace.
This corresponds to the environment or infrastructure provider that the workspace will use. -
Workspace Name:
Enter a unique name that identifies your workspace. -
Cluster Agent:
Choose the cluster agent where the workspace agent will be deployed.
This ensures that workloads run on the infrastructure managed by that specific agent. -
S3 Bucket:
Select the S3 bucket to be used by the new workspace.
The chosen bucket stores runtime artifacts and Flink checkpoints for the workspace’s deployments.
Uninstall the Agent
To uninstall the Ververica Agent from your cluster, follow these steps:
-
Ensure no vclusters are running:
Verify that no virtual clusters (vclusters) are currently active in your Kubernetes cluster. -
Delete associated webhooks:
Run the following commands to remove the associated webhook configurations:kubectl delete mutatingwebhookconfiguration 0100-pyxis-mutating-webhook
kubectl delete validatingwebhookconfiguration pyxis-validating-webhook -
Uninstall the Helm chart:
Use Helm to uninstall the Ververica Agent:helm -n <your-namespace> uninstall vv-agent