Getting started with a Flink SQL deployment
Overview
Ververica Cloud allows you to edit drafts and run deployments using SQL code. This topic explains how to perform various operations, such as accessing Ververica Cloud, creating SQL drafts, and running SQL deployments.
Prerequisites
You must have created an existing account and workspace (for example by following the steps in in Get started).
Procedure
The procedure consists of three steps:
- Step 1: Create an SQL draft and write business code on the SQL Editor page.
- Step 2: Start the deployment
- Step 3: View the results of the deployment
Step 1: Create an SQL draft
To create your first SQL draft:
-
On your Dashboard page, click the workspace name that you want to open.
The workspace Console will be displayed.
-
Display the SQL Editor page, then click New.
-
In the New Draft dialog box, select the Blank Stream Draft template and click Next.
-
Enter a Name (e.g. My_first_SQL) and click Create.
noteFor this tutorial you can accept the default values for the Location and Engine Version (you might need to scroll down to see this option).
-
Copy the deployment code below and paste it into the code editor panel on the right.
CREATE TEMPORARY TABLE datagen_source(
randstr VARCHAR
) WITH (
'connector' = 'datagen'
);

CREATE TEMPORARY TABLE print_table(
randstr  VARCHAR
) WITH (
'connector' = 'print',
'logger' = 'true'
);

INSERT INTO print_table
SELECT SUBSTRING(randstr,0,8) from datagen_source;noteThis creates a datagen source table that generates random data, and enables the system to display the data of the randstr field in the datagen source table.
-
Click Validate to check the syntax. It should pass with no issues, and a confirmation will be displayed under the SQL code panel.
-
Click Deploy.
-
In the Deploy draft dialog box, click Confirm.
-
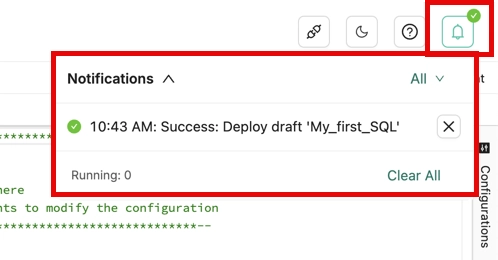
The draft name will be displayed with a green success icon, and you’ll see a notification in the top right of the Console toolbar. Click the notification icon to view the message.
Step 2: Start the deployment
To start the SQL deployment:
-
In the COnsole, click Deployments.
-
Find the new Deployment and click Start in the Actions column.
-
In the Start Job dialog box, select Initial mode and click Start.
Initially, the status will be STARTING.
-
After the deployment is started, the deployment status changes to RUNNING. This indicates that the deployment is running properly.
Step 3: View the results
To view the results:
-
On the Deployments page, click the name of the Deployment.
-
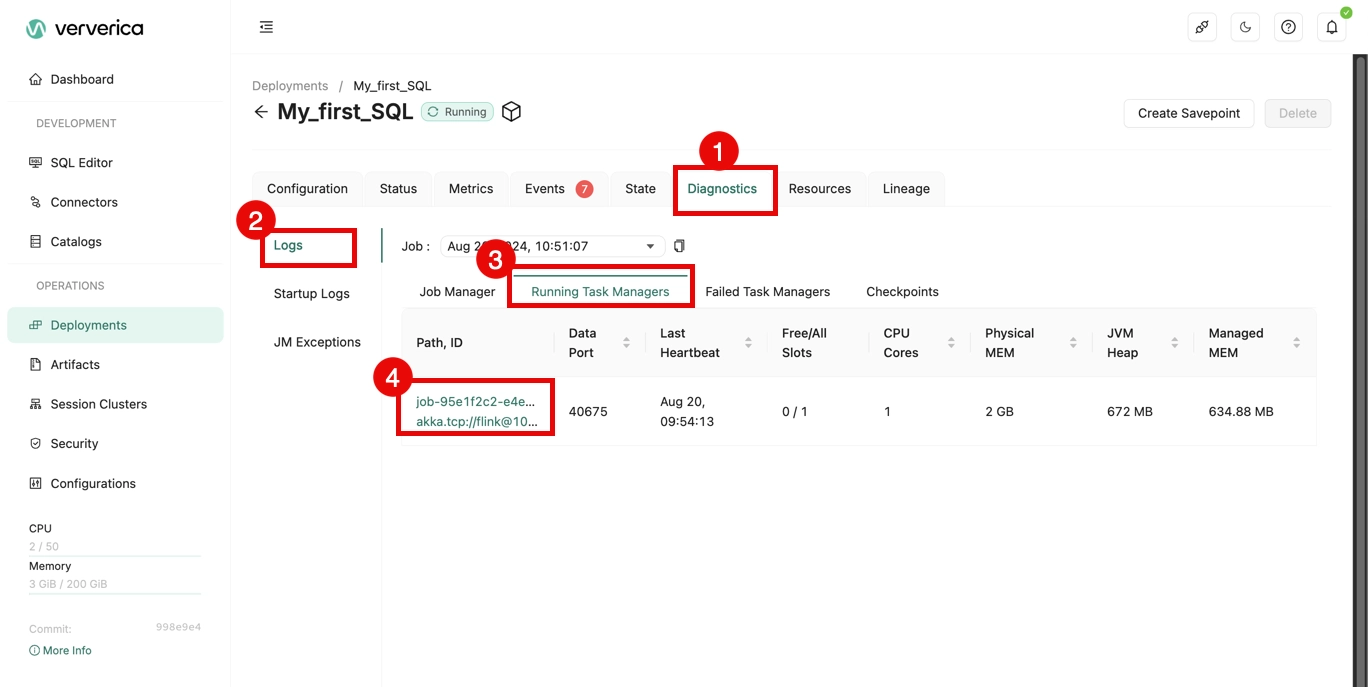
Click the Diagnostics > Stdout tab.
-
On the Logs tab, click Running Task Managers.
-
Click the value in the Path, ID column.
-
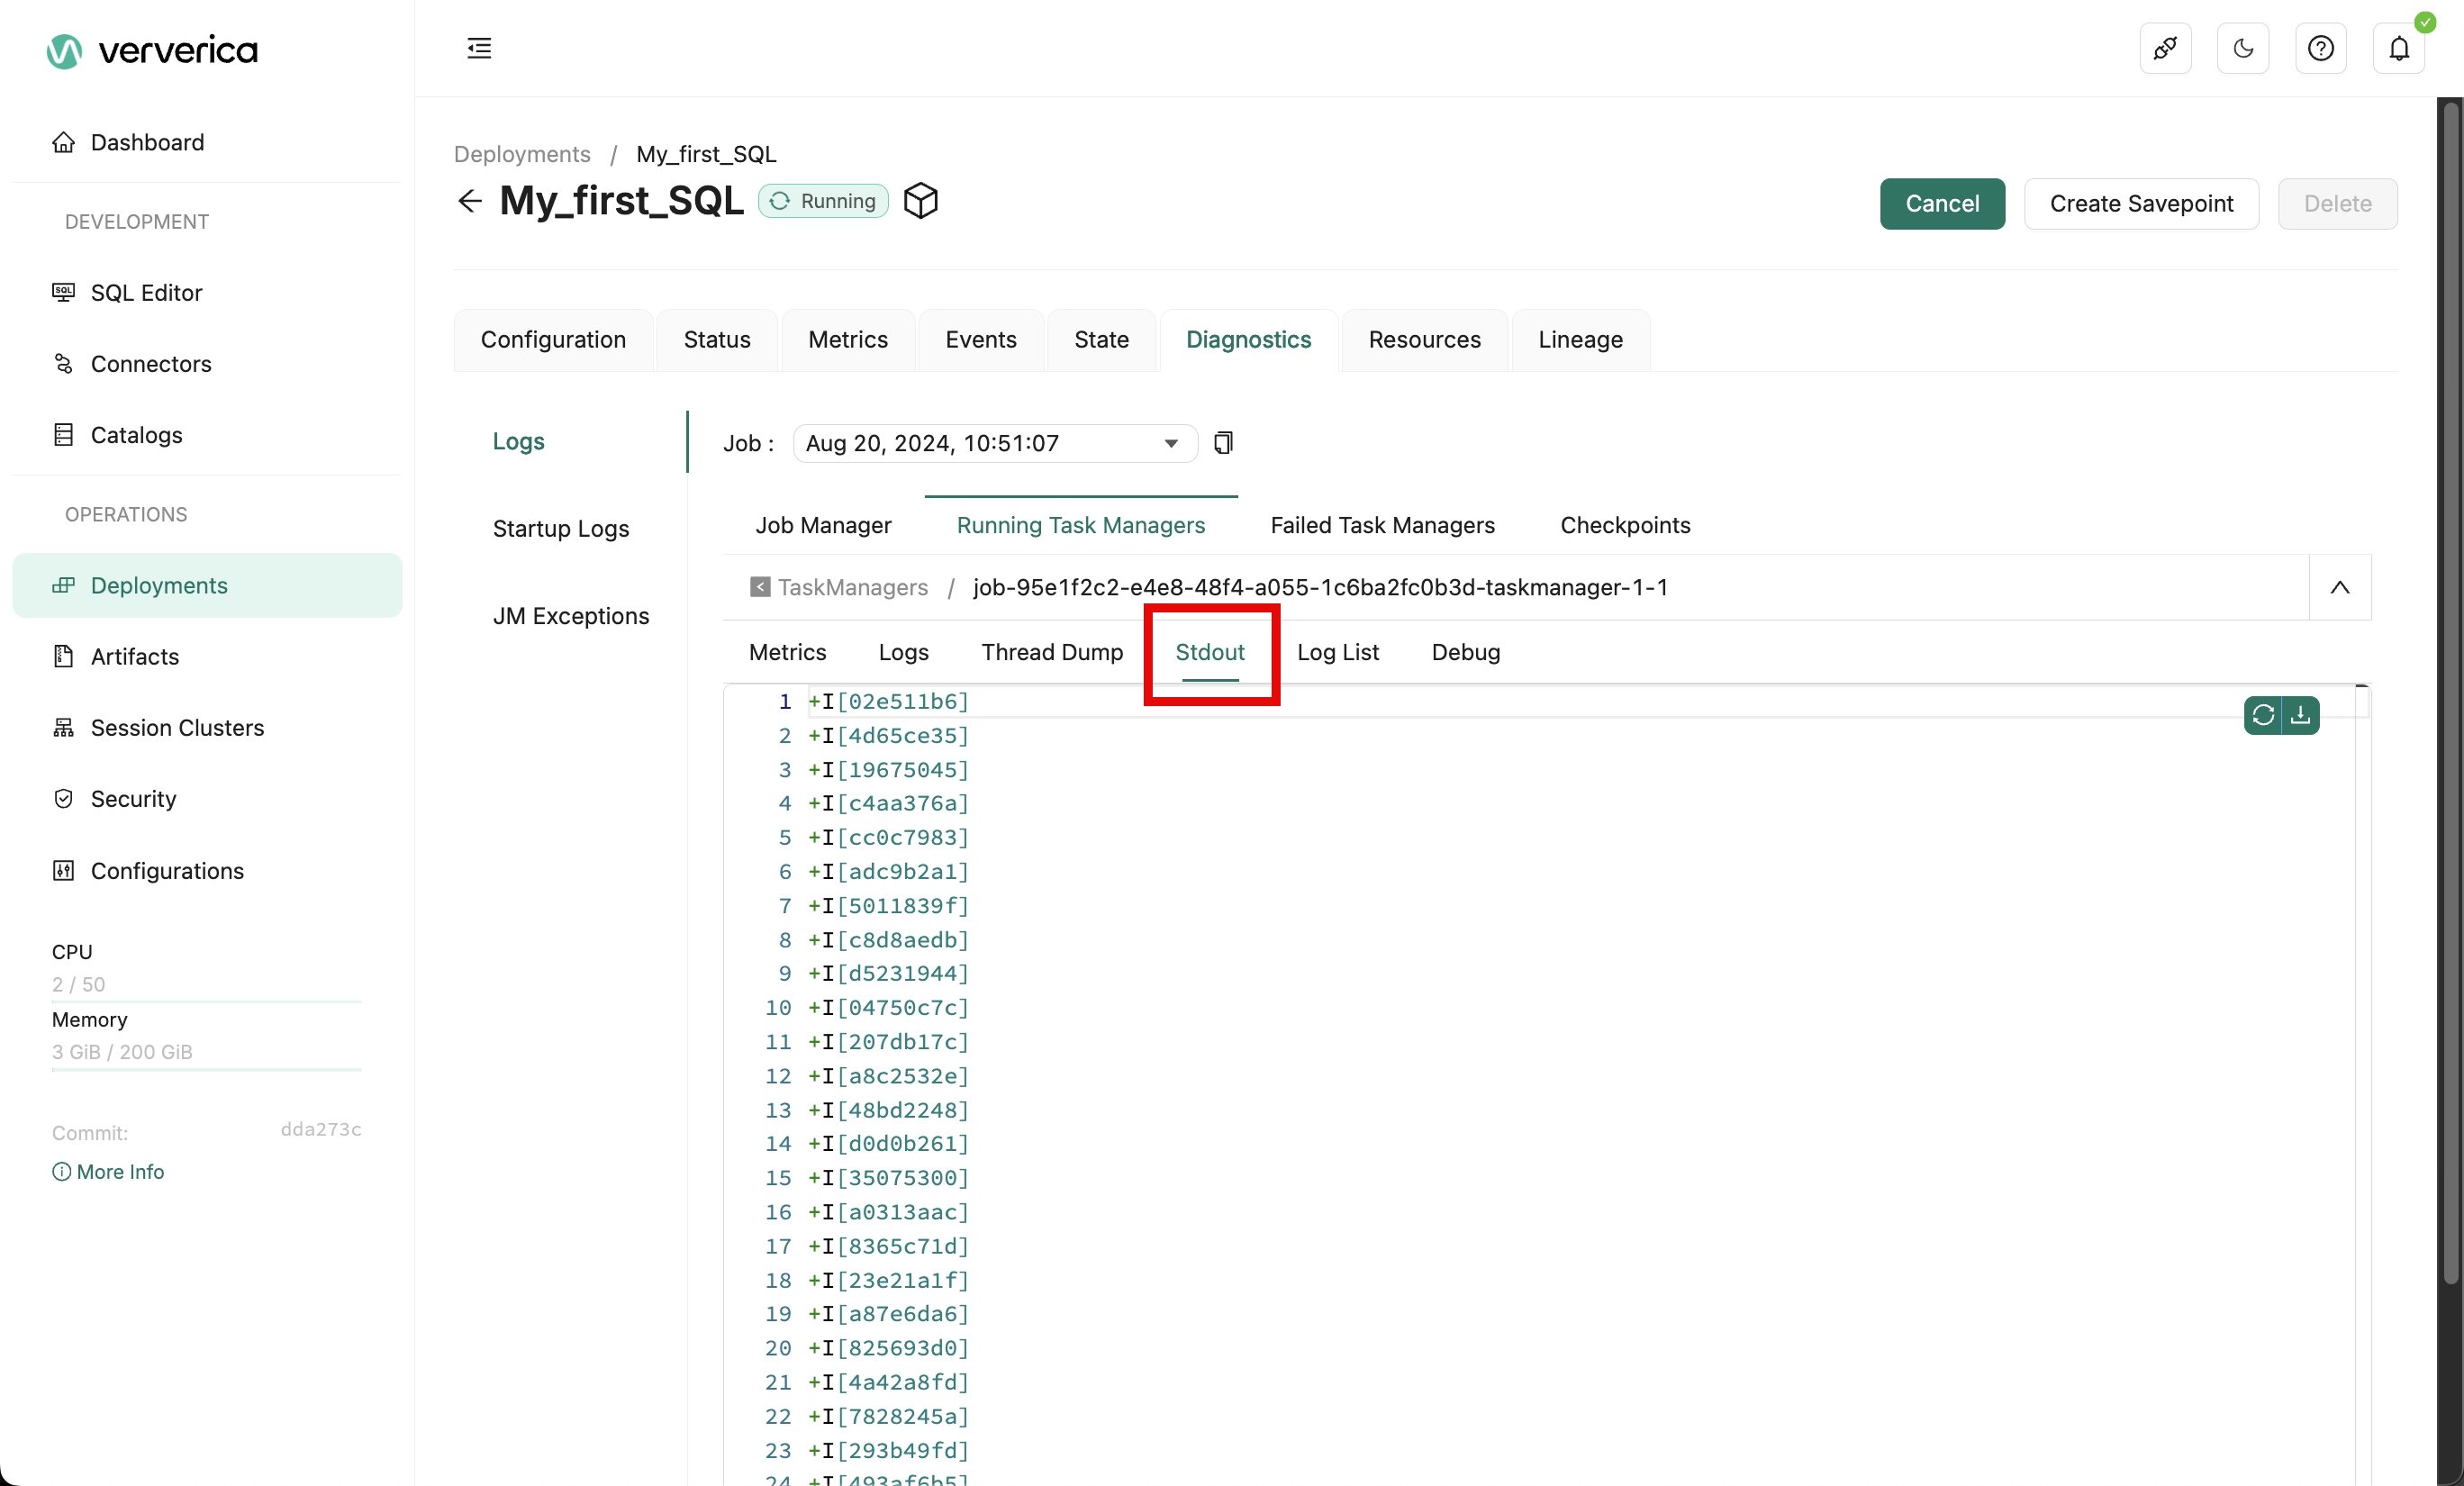
Display the Stdout tab to see the results.
More information
For more details, see: