Namespaces
Namespaces organize resources (deployments, targets, tokens, savepoints, secret values, etc.) for a project or team and control who can access them. A default namespace is available after installation. You can add more as needed.
Create a Namespace
-
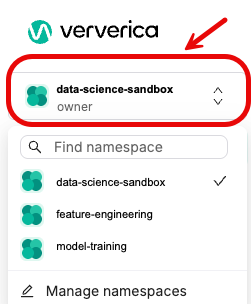
In the left navigation, click the Namespace selector and select Manage namespaces.
-
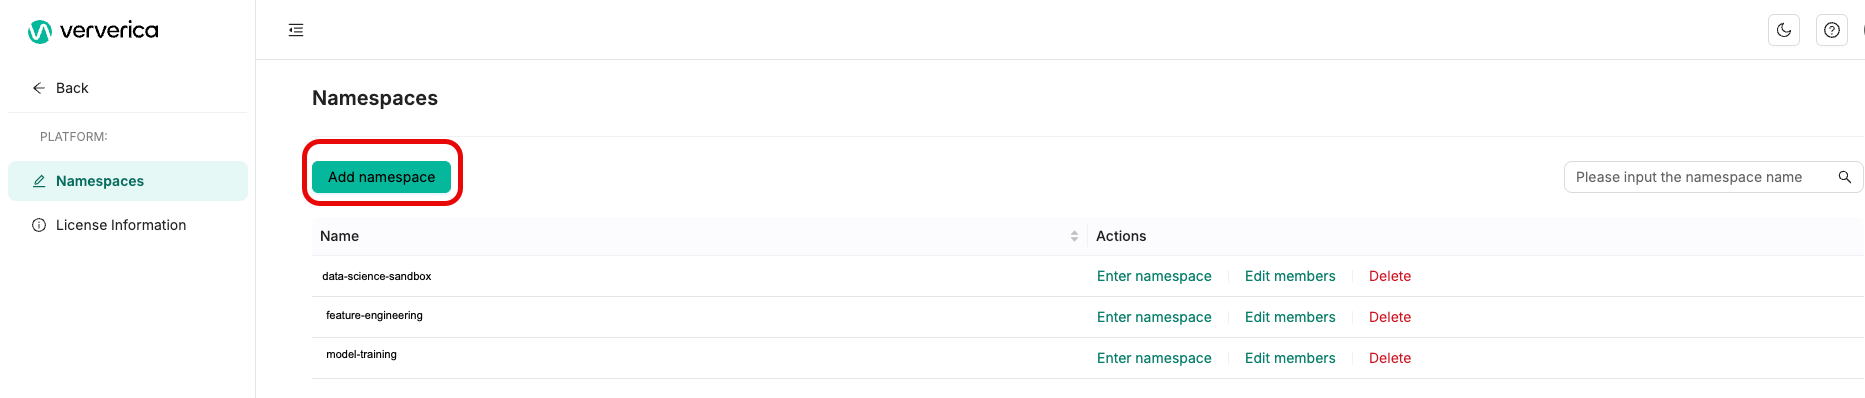
On the Namespaces page, click Add namespace.
-
On the Create a Namespace dialog, enter the following:
- Name of the namespace - enter a unique, descriptive name.
- Namespace Owners - start typing to search by email or account ID. Select one or more owners.
Enter a meaningful name, such as realtime-analytics-prod for your namespace and give ownership only to those who need it. You can change namespace member roles later if needed.
- Click OK. The new namespace appears in the list.
Edit Members in a Namespace
- In the left navigation, click the Namespace selector and select Manage namespaces.
- In the row of the namespace you want to edit, select Edit members.
- Do one of the following:
- To add a member, click Add Member, in the Member Information field, enter the name of the member you want to add, and select a Roll for the member (viewer, editor, admin).
- To edit a member's role, next to their name click Edit and select their new role. Click OK.
- To delete a member, next to their name click Delete, and then click OK.
Delete a Namespace
- In the left navigation, click the Namespace selector and select Manage namespaces.
- In the row of the namespace you want to delete, click Delete.
- Review the confirmation dialog carefully, and click Delete to proceed.
Deleting a namespace removes all resources in that namespace — including Deployments, Deployment Targets, API Tokens, Savepoints, and Secret Values. Artifacts are not deleted.
Switch to a Different Namespace
- In the left navigation, click the Namespace selector and select Manage namespaces.
- In the row of the namespace you want to switch to, click Enter namespace.