Custom formats
This article explains to how to manage custom data formats in the Flink fully managed console.
Fully managed Flink provides various data formats that are supported by different types of connectors. For example, the data formats can be JSON and Avro. A table format is a storage format that defines how to map binary data onto table columns. This topic describes how to create a custom data format in the console of fully managed Flink. You can also delete an existing custom format, but you cannot edit it.
Background Information
When you execute the SQL DDL statement to create a table, you can configure the Format parameter in the WITH clause to specify the data format.
Limits
- To allow fully managed Flink to identify and use your custom data formats, you must develop custom data formats based on the standard data formats provided by the Apache Flink community. For more information about the standard data formats provided by the Apache Flink community, see Formats.
- You can upload the JAR package of one type of data format only once.
- At time of writing, you cannot edit an existing custom format. You can delete it if it is no longer required, and create another.
Precautions
To avoid dependency conflicts of JAR packages of different data formats, take note of the following points:
- Make sure that the version of the Flink image is the same as the Flink version in the Project Object Model (POM) dependencies.
- Do not upload JAR packages at the runtime layer. This indicates that you must add the
<scope>provided</scope>tag to the dependencies. See Decoupling JAR dependencies. - Use the Shade plug-in to package third-party dependencies. For more information, see Apache Maven Shade plug-in.
Create Custom Format
- On the Dashboard page, locate the workspace you want to manage, click the title of the workspace or this icon ⋮, and select Open Console.
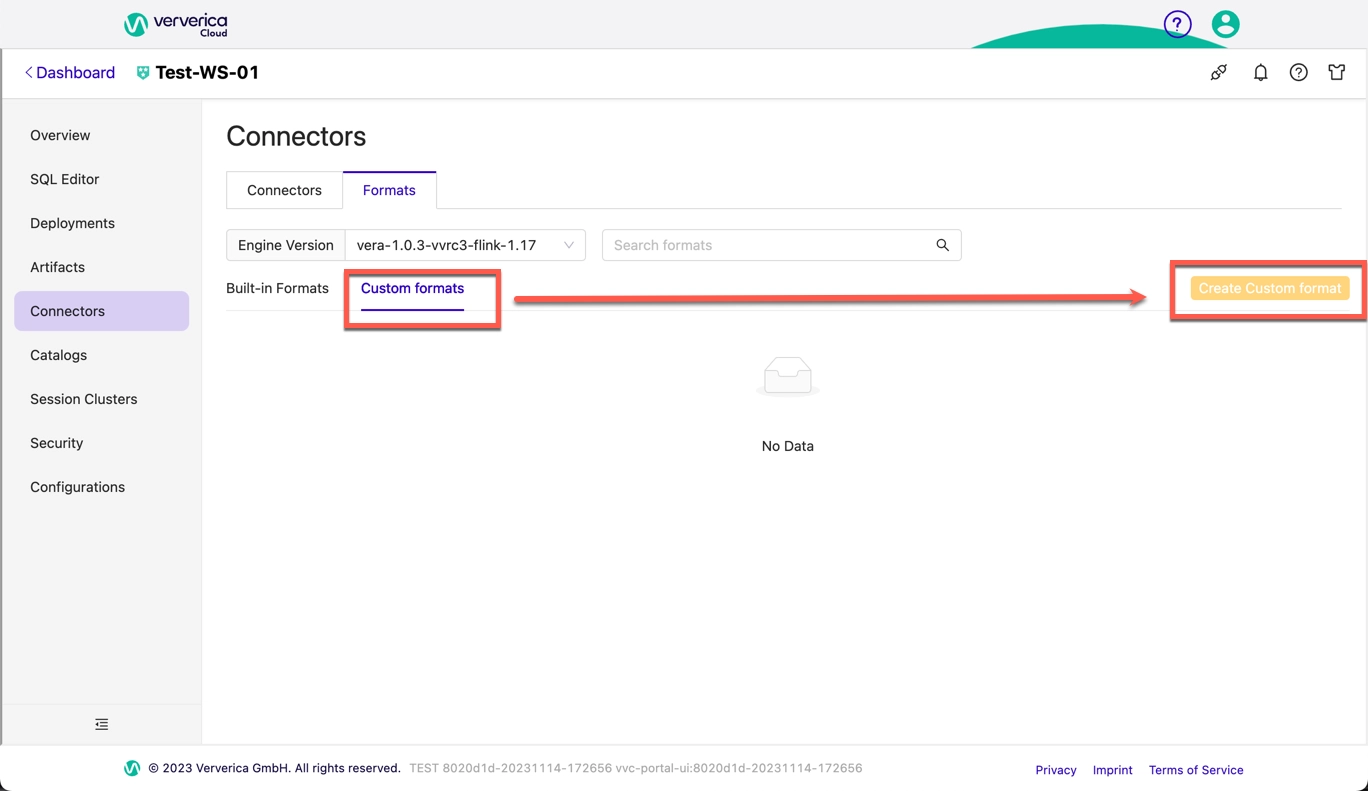
- In the left-side navigation pane of the Console, click Connectors and choose the Formats >> Custom formats tab.
- Click Create format.
- Upload a custom format JAR file. You can upload a custom format JAR file in any of the following ways:
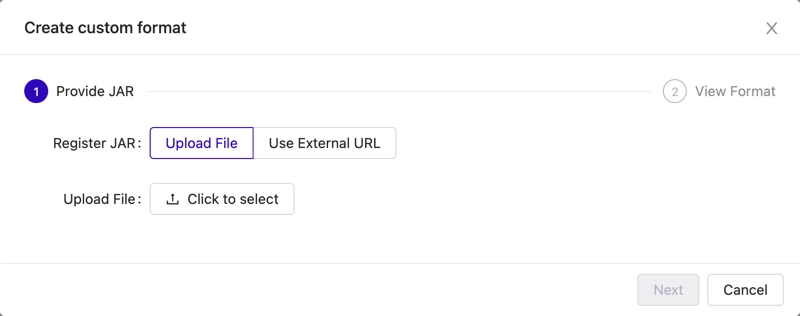
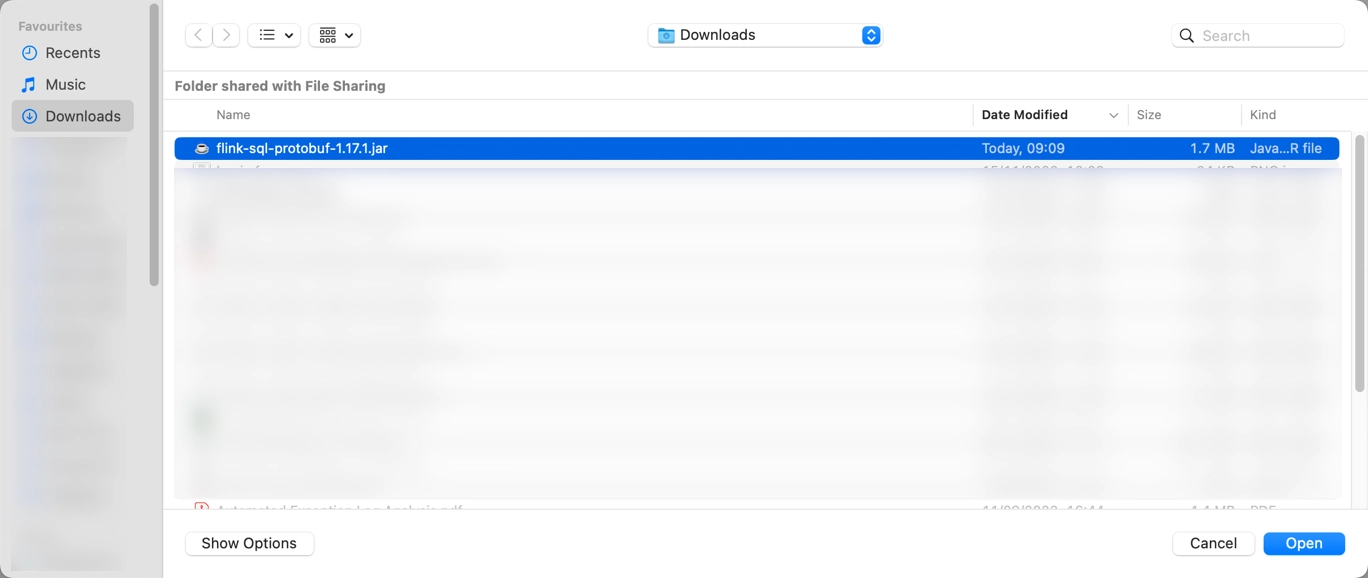
- Upload File: After clicking Click to select, select your target connector JAR file.
- External URL: Enter the external URL address.
The external URL support only accessible HTTP links. You need to make sure that the network between the Flink service and the external HTTP service is connected.
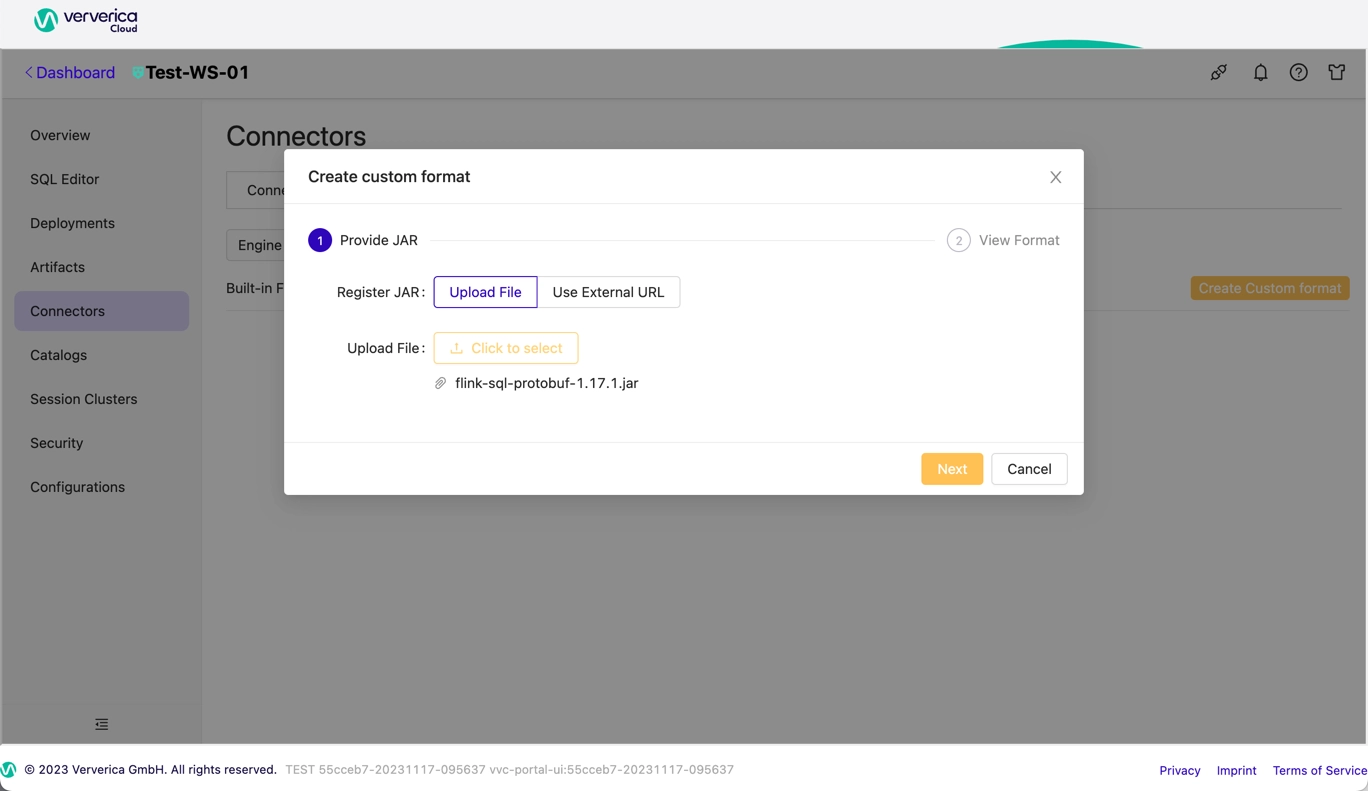
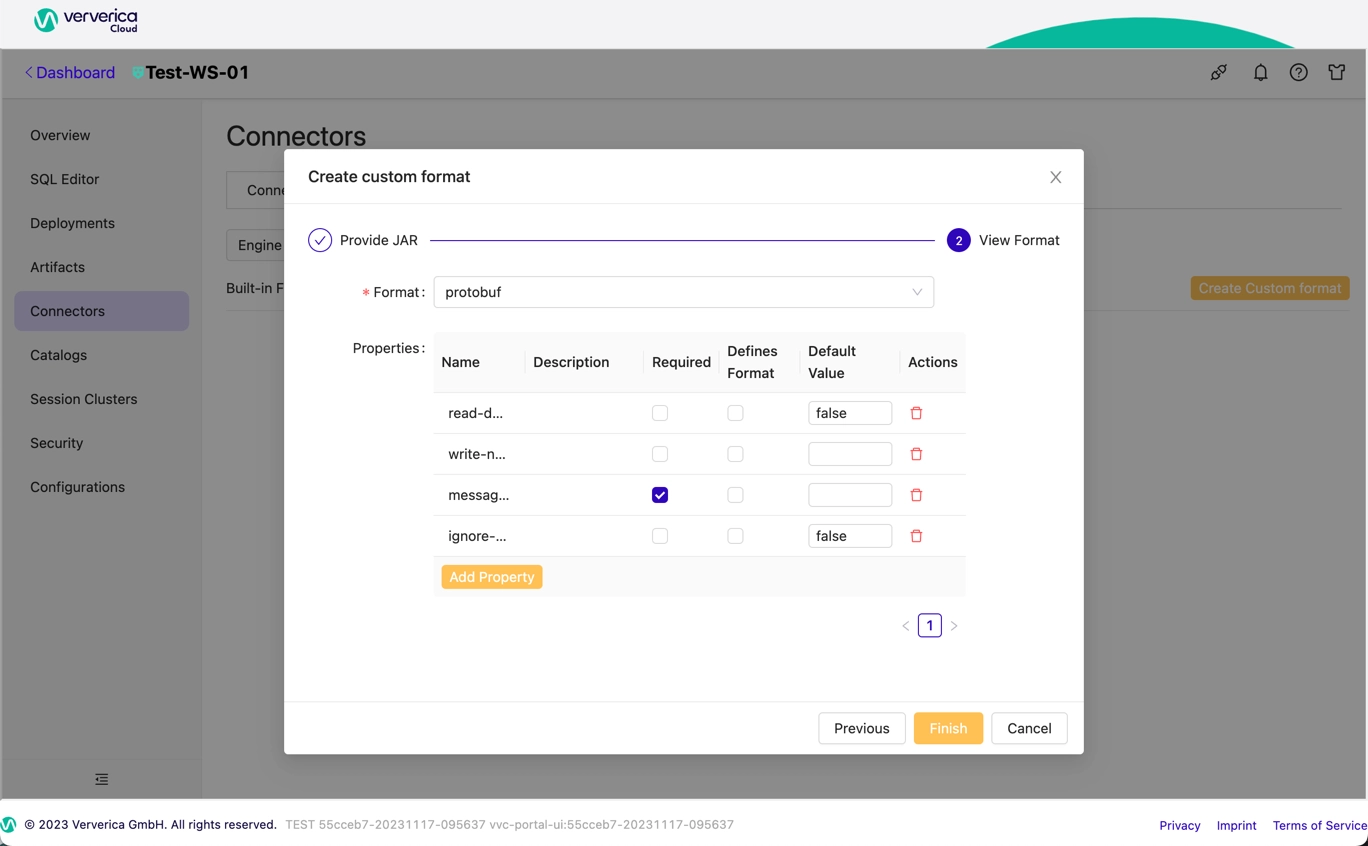
- After the upload is complete, click Next. The system will parse the custom format content you uploaded. If the parsing is successful, you can proceed to the next step. If the parsing fails, please confirm whether the custom format code you uploaded complies with the Flink community standard.
- Enter any required propertis and click Finish.
Decoupling JAR dependencies
When building a Java application, the common way is to use Maven, which defines how the application will be built, what the dependencies are, etc., via the pom.xml. To define a dependency in pom.xml, you have to follow the below structure:
<dependencies>
  <dependency>
    <groupId>org.apache.flink</groupId>
    <artifactId>flink-runtime</artifactId>
    <version>1.17.0</version>
  </dependency>
</dependencies>
However, the default behaviour of the above configuration means the dependency ‘flink-runtime’ jar will be packaged together with the final java appliation jar file.
In a Ververica Cloud custom format/connector scenario, those dependencies should not be packaged in the jar, so an additional <scope>provided</scope> tag is required in the pom.xml:
 <dependencies>
   <dependency>
     <groupId>org.apache.flink</groupId>
     <artifactId>flink-runtime</artifactId>
     <version>1.17.0</version>
     <scope>provided</scope>
   </dependency>
 </dependencies>
Delete Custom Format
If your custom format is no longer used, you can delete the custom format by following the steps below.
- Log in to Ververica Cloud.
- On the Dashboard page, locate the workspace you want to manage, click the title of the workspace or this icon ⋮, and select Open Console.
- In the left-side navigation pane of the Console, click Connectors and choose the Formats >> Custom formats tab.
- Hover the pointer over the custom format and click Delete.