Manage User-Defined Functions (UDFs)
This document explains how to manage user-defined functions (UDFs) in a fully managed Flink. For example, you can register, update, and delete a UDF.
Precautions
To prevent conflicts between JAR package dependencies, take note of the following points when you develop UDFs:
Make sure that the Flink version that you select on the Draft Editor page is the same as the Flink version in the POM dependency.
Specify
<scope>provided</scope>for Flink-related dependencies.Use the Shade plug-in to package other third-party dependencies. For more information, see Apache Maven Shade plug-in.
See Connecting with external file systems for information on the s3i and s3 schemas when communicating with external S3 services via your own S3 connector (e.g. for sources and sinks).
Register a UDF
Before you can use a UDF in SQL statements, register the UDF. Only registered UDFs can be used in SQL statements.
Log in to Ververica Cloud.
On the Dashboard page, locate the workspace you want to manage, click the title of the workspace or this icon ⋮, and select Open Console.
In the left-side navigation pane of the Console, click SQL editor and choose the Drafts tab.
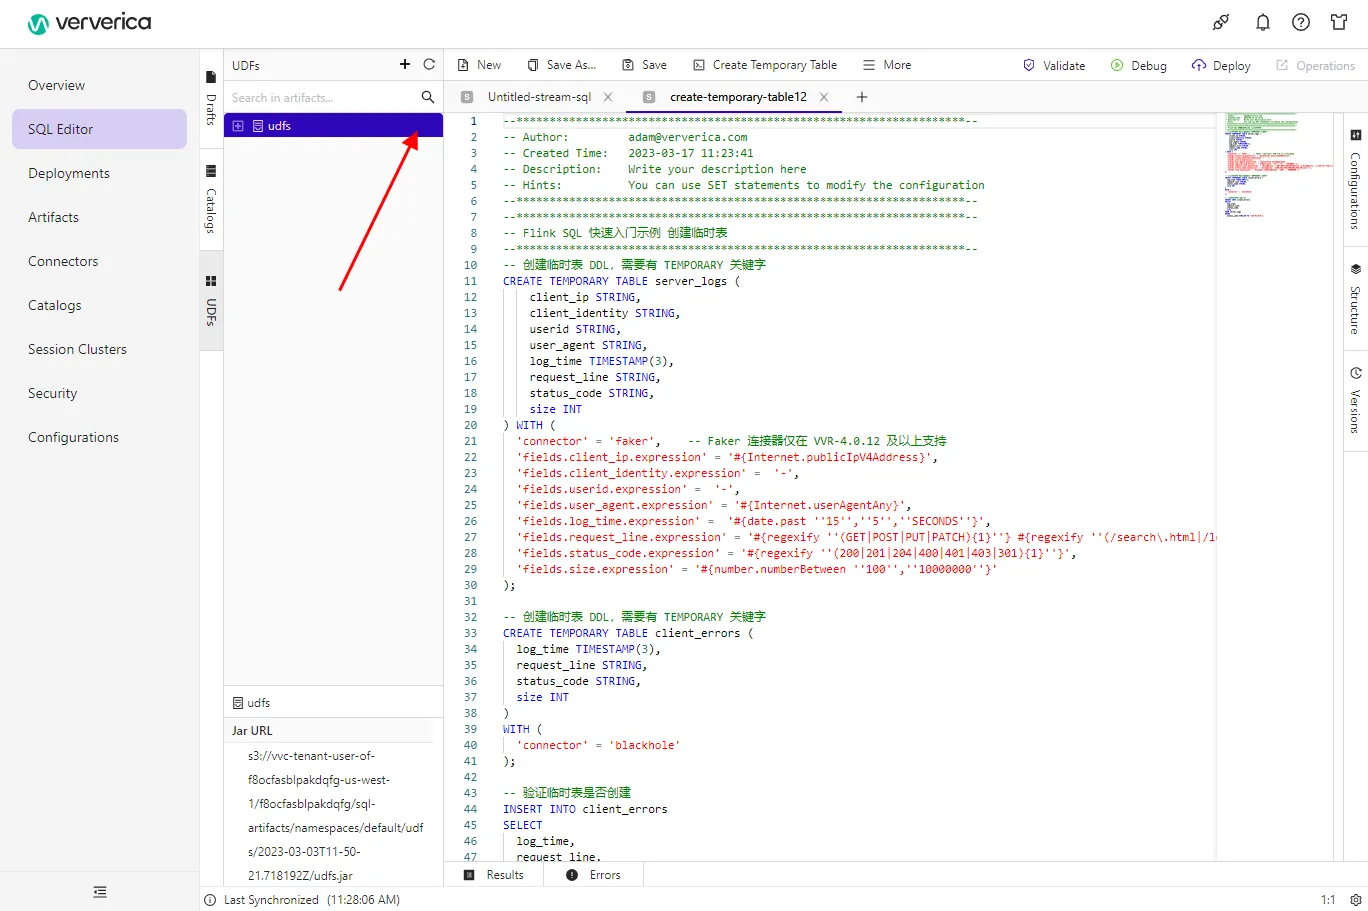
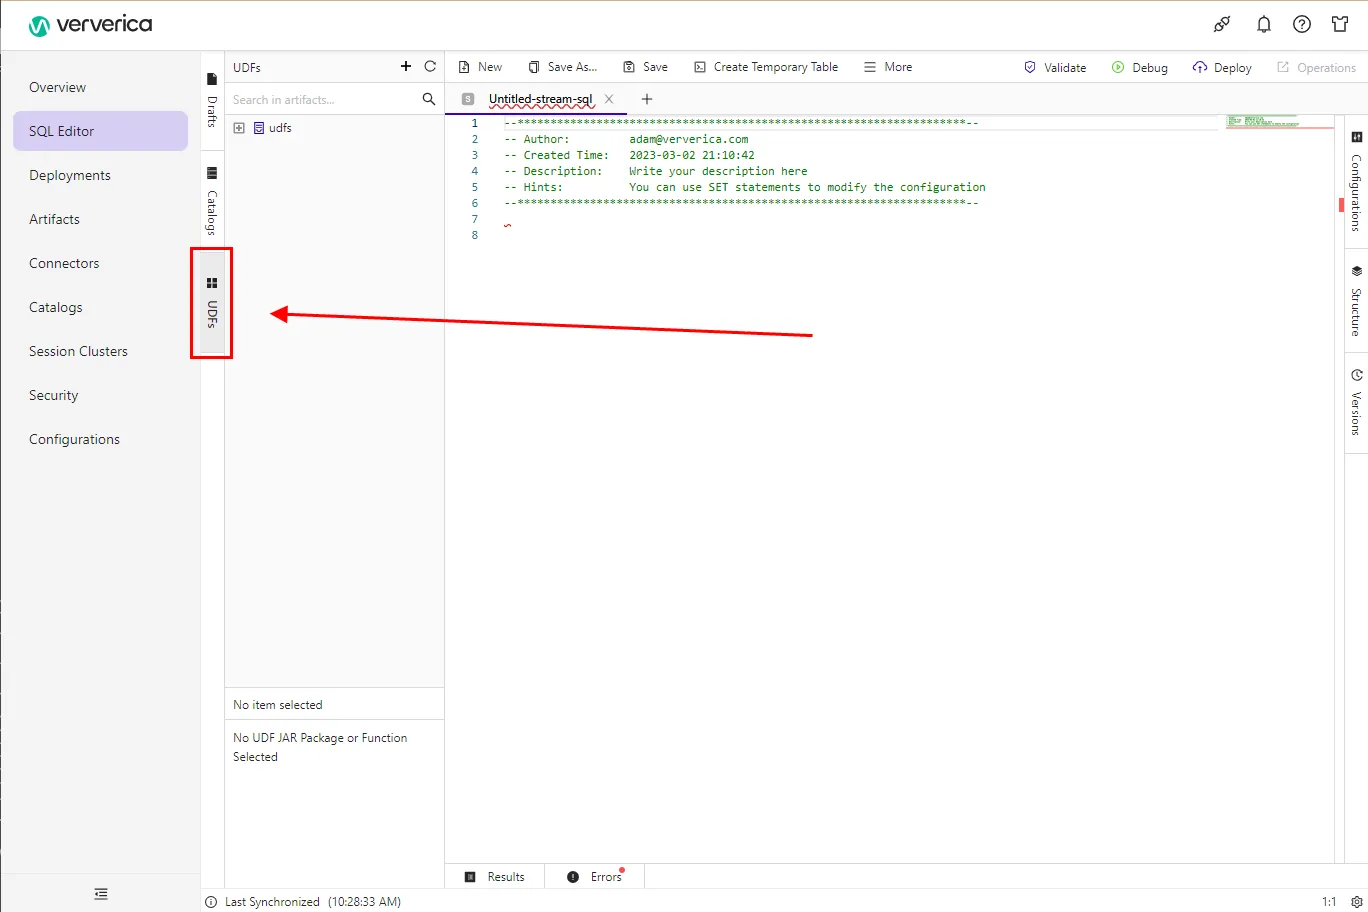
Click on the UDFs tab on the right side menu.
Click Register UDF Artifact.
Upload a UDF JAR file.
Upload a UDF JAR file
You can use one of the following methods to upload a UDF JAR file:
Option 1: Upload a file
Click Click to select next to Select a file to upload the UDF Artifact file that you want to upload.
If you want to upload a dependency file, click Click to select next to Dependencies to upload the file that your UDF Artifact file depends on.
Your UDF JAR file is uploaded and stored in the specific directory of the Object Storage Service (e.g. S3) bucket that you select. Fully managed Flink parses the UDF JAR file and checks whether the classes of the Flink user-defined scalar function (UDF), user-defined aggregate function (UDAF) and user-defined table-valued function (UDTF) interfaces are used in the file. Then, fully managed Flink automatically extracts the class names and specifies the class names in the Function Name field.
The dependencies of Java UDFs can be added to UDF JAR packages or uploaded by using a dependency file. We recommend that you upload the dependencies of Python UDFs by separately uploading the dependency file.
Option 2: External URL
Enter an external URL.
If the size of the UDF Artifact file or the size of the UDF Artifact dependency file is large, we recommend that you upload the file by using an external URL.
The external URL support only accessible HTTP links. You need to make sure that the network between the Flink service and the external HTTP service is connected.
Click Confirm.
Select the required available functions in the Manage Functions window and click Create functions.
In the UDFs list on the left side of the SQL Editor page, you can view all the UDFs that are registered.
Register a deployment-level UDF
- Only Flink engine VERA 1.0.3 or later supports deployment-level Python UDFs.
- If you use a deployment-level Python UDF, you can configure parameters such as python.files or python.archives in the Parameters section of the Configuration tab to specify the related dependency file.
- If you use a deployment-level Python UDF, you cannot perform a syntax check on a draft. You must skip the syntax check before you deploy a draft as a deployment.
To register a deployment-level UDF, perform the following steps:
- Upload the JAR or Python file of the UDF.
- In the left-side navigation pane, click Artifacts. On the Artifacts page, click Upload Artifact to upload the JAR or Python file of the UDF.
- Specify a deployment-level UDF in your deployment.
- On the Configurations tab of the SQL Editor page, select the JAR or Python file of the UDF from Additional Dependencies.
- Register a deployment-level UDF.
- Java UDF
CREATE TEMPORARY FUNCTION yourfunctionname; - Python UDF
CREATE TEMPORARY FUNCTION yourfunctionname LANGUAGE Python;
- Java UDF
Delete a UDF
Log in to Ververica Cloud.
On the Dashboard page, locate the workspace you want to manage, click the title of the workspace or this icon ⋮, and select Open Console.
In the left-side navigation pane of the Console, click SQL editor and choose the Drafts tab.
Click on the UDFs tab on the right side menu.
In the UDFs list, move the pointer over the name of the UDF JAR file that you want to delete and click the Waste bucket icon.