JAR deployment
Overview
Ververica Cloud allows you to run JAR Deployments. This topic describes how to quickly set up a JAR Deployment, run it, and view the outputs in Ververica Cloud.
JAR consists of a zip archive, as defined by PKWare, containing a manifest file and potentially signature files, as defined in the JAR File Specification JAR File Specification.
Prerequisites
You must have created an existing account and workspace (for example by following the steps in Get started).
Step 1: Prepare the JAR and input data for testing
You need to download the following files to be used in this tutorial:
- Download FlinkQuickStart-1.0-SNAPSHOT.jar to your local machine.
- Download Shakespeare.txt to your local machine.
Step 2: Upload the artifact files
To upload the artifact files:
On your Dashboard page, do one of the following:
- Click name of the workspace that you created in Set up your free trial account.
- Click the triple dots at the end of the workspace entry and select Open Console.
In the module navigation panel, display the Artifacts module.
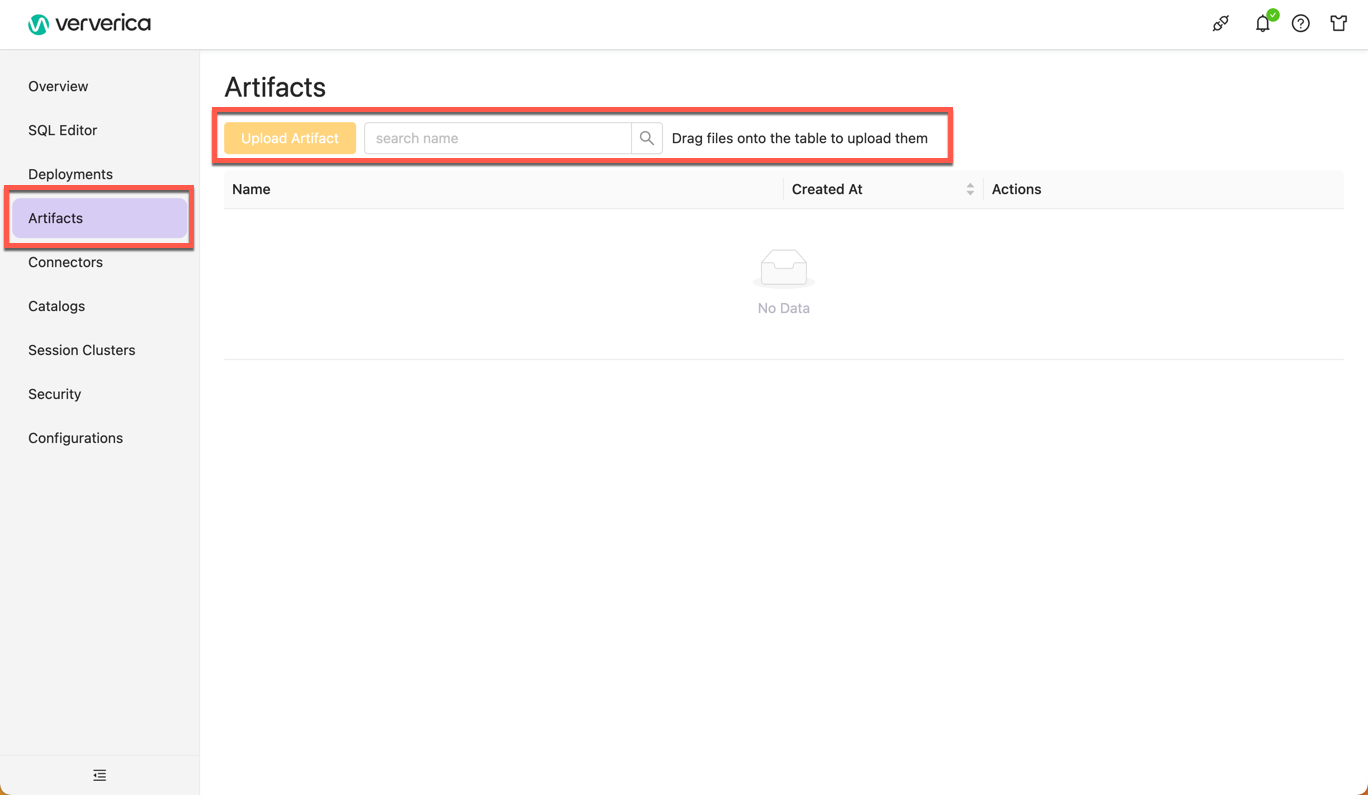
To upload the artifacts, do one of the following:
- Click Upload Artifact, navigate to and select the downloaded files, then click Open.
- Drag the artifact files from the download location into the Artifacts table.
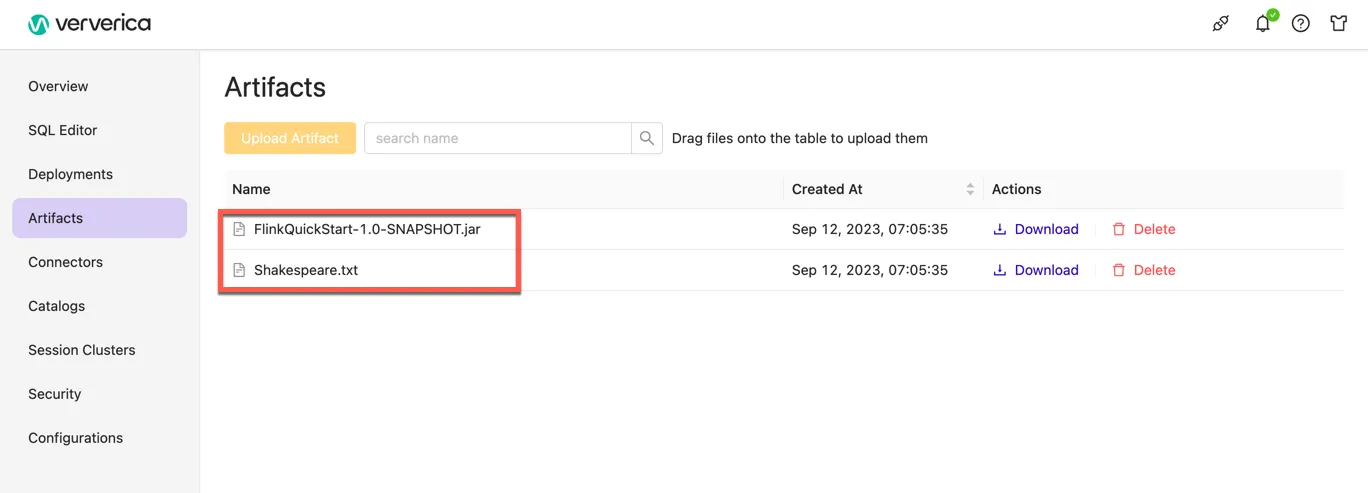
The artifacts will be listed as follows:
Step 3: Create a JAR deployment
To create the JAR deployment:
In the module navigation pane of the Console, click Deployments > Create Deployment.

The Create Deployment form will be displayed:
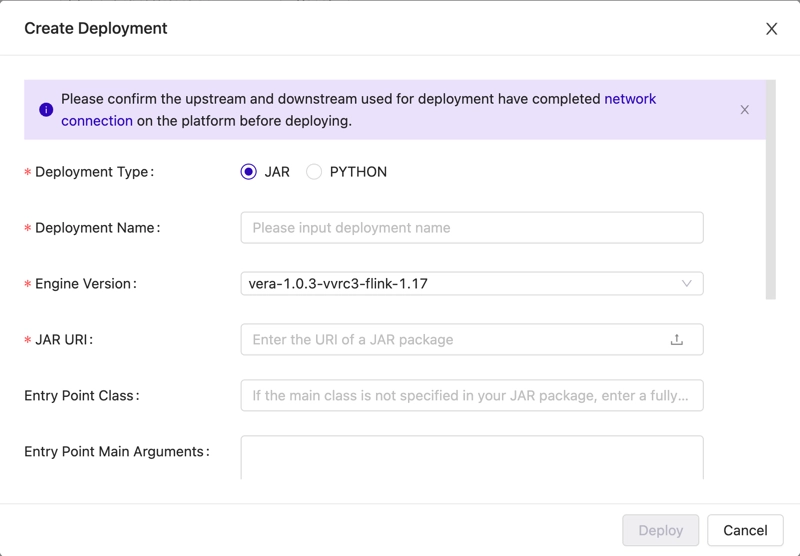
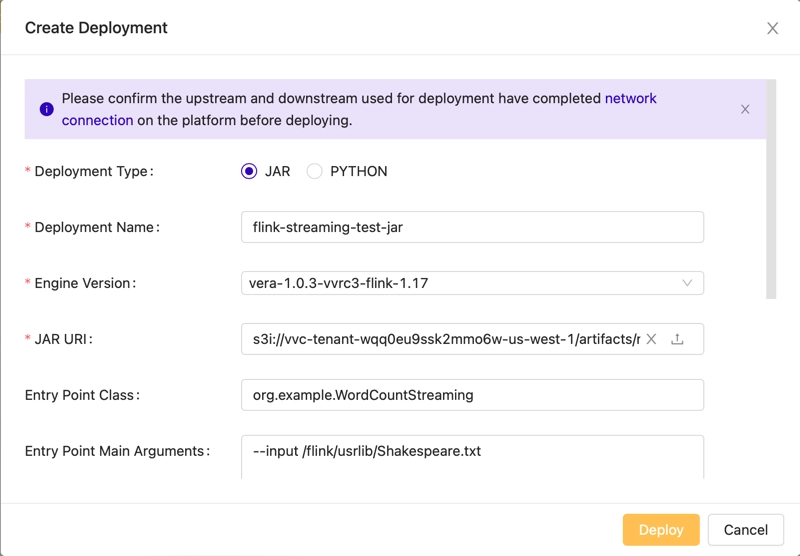
Fill in the Create Deployment form as follows (you might need to scroll down to see all the options):
- Deployment Type: JAR
- Deployment Name: Enter flink-streaming-test-jar for this tutorial.
- Engine Version: Leave this set to the default version.
- JAR URI: Click in the field and select the FlinkQuickStart-1.0-SNAPSHOT.jar from the list. (Note: Console will fill in the required URI when you select the JAR file.)
- Entry Point Class:
org.example.WordCountStreaming - Entry Point Main Arguments:
--input /flink/usrlib/Shakespeare.txt - Additional Dependencies: Click in the field and select the Shakespeare.txt from the list.
- Deploy to Session Cluster: Leave unchecked.
- Description: Leave blank for this tutorial.
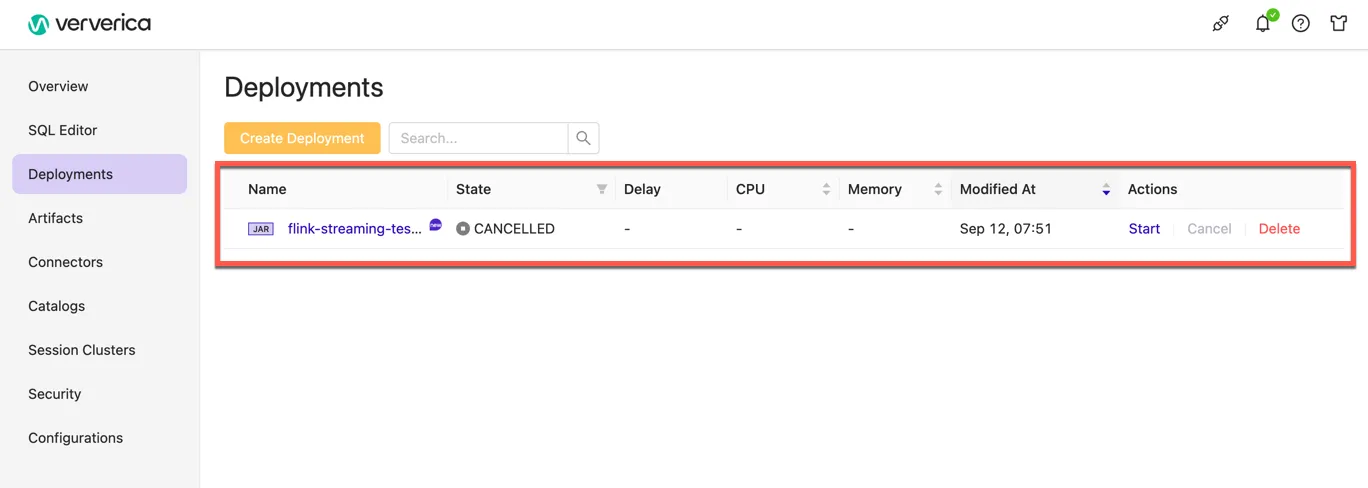
Click Deploy. The deployment will be listed. Until you start the deployment, it will be listed as CANCELLED (i.e. not running).
Step 4: Start the deployment
To start the deployment:
To the right of the deployment name, click Start in the Actions column.
Fill in the startup option information. For this tutorial, use the default settings:
Mode: Initial Mode (see Start deployment for more information.)
Specify source's start time: disabled
Configure Autopilot: disabled (see Configure Autopilot and Scheduled Tuning for more information.)
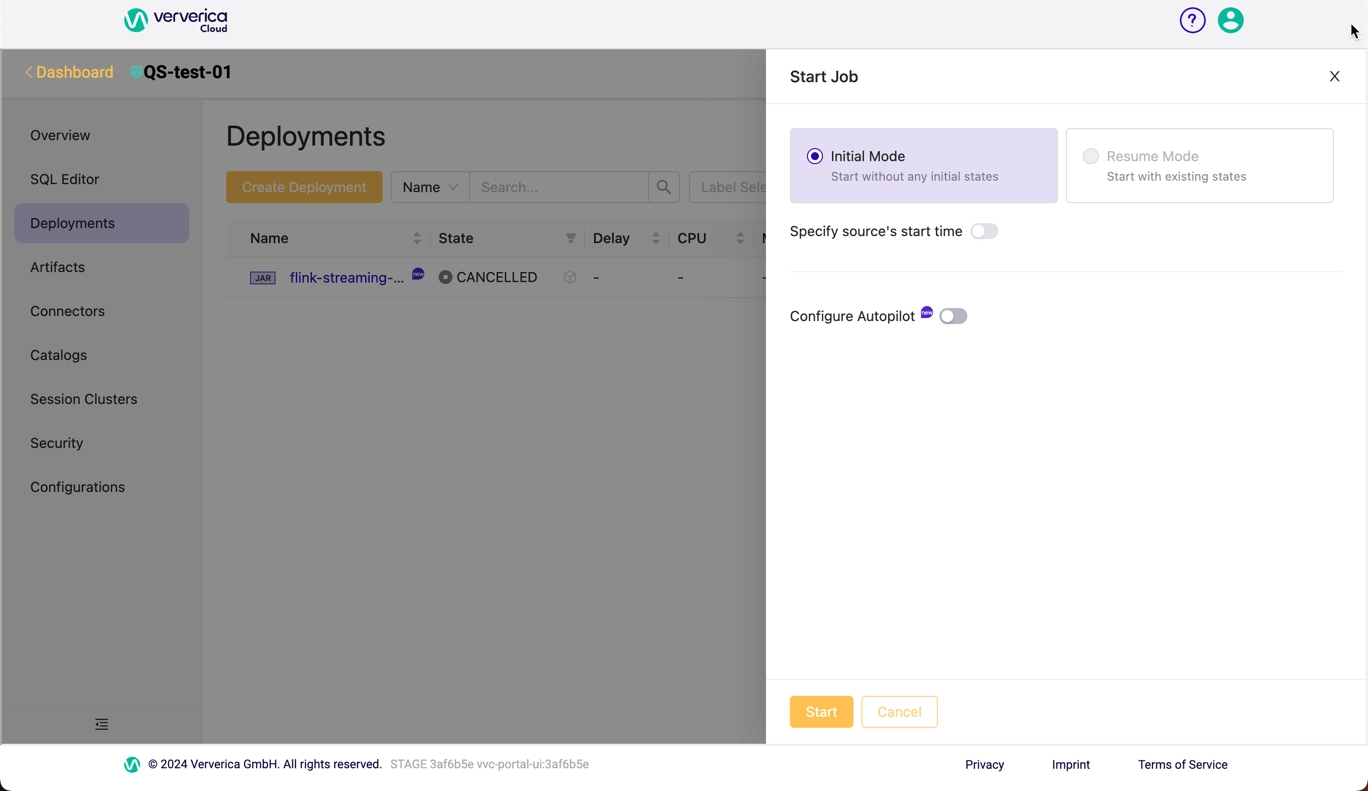
Click Start.
Initially, the state will be STARTING.
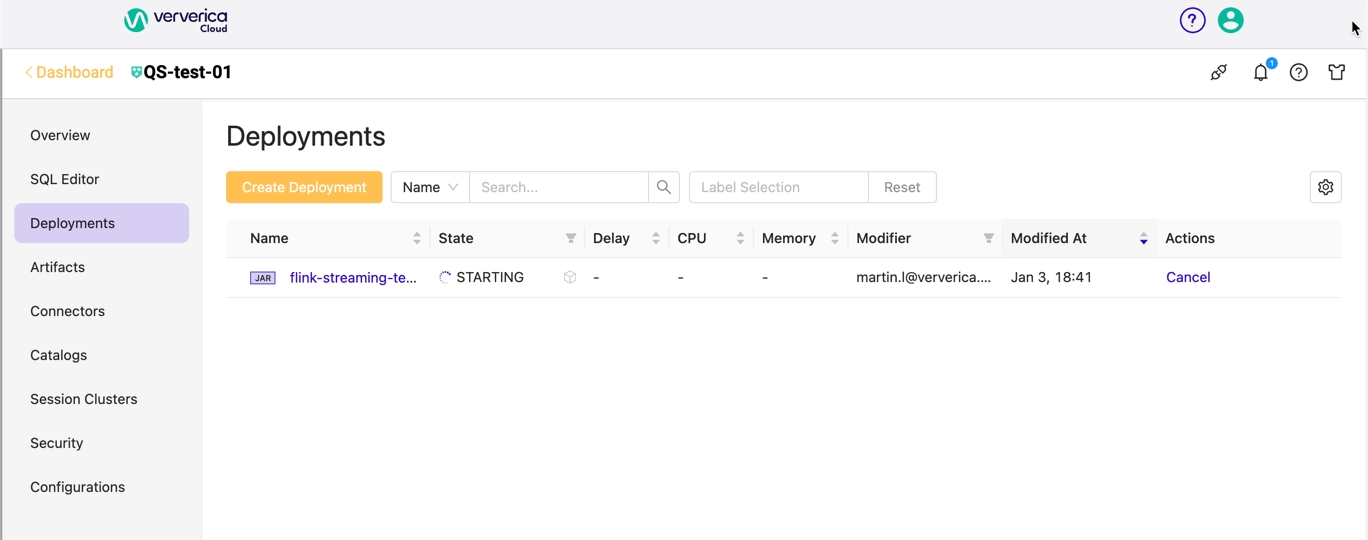 After the deployment is started, the deployment status changes to RUNNING.
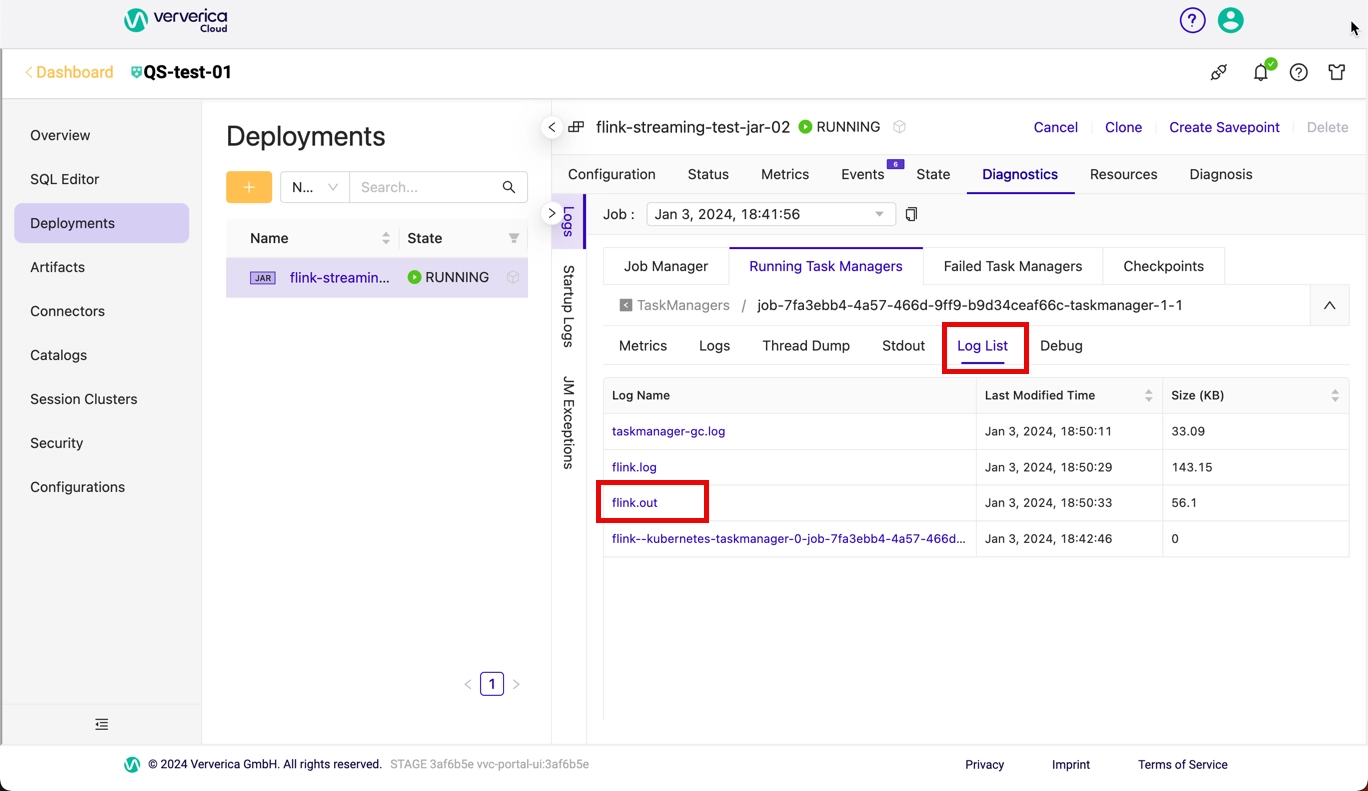
Step 5: View the results
To view the results:
On the Deployments page, click the name of the Deployment.
Click the Diagnostics tab.
Click the Logs > Running Task Managers tab.
Click the entry in the Path, ID column.
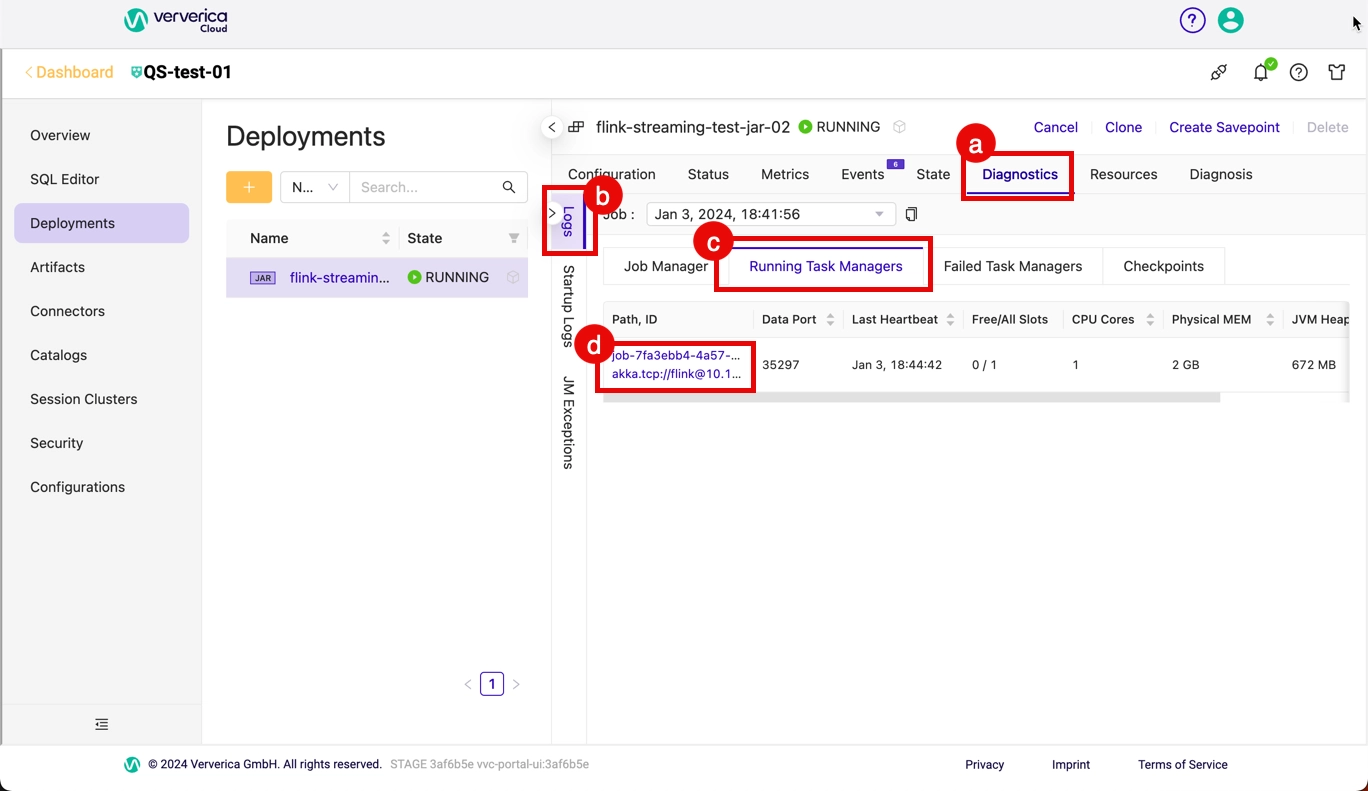
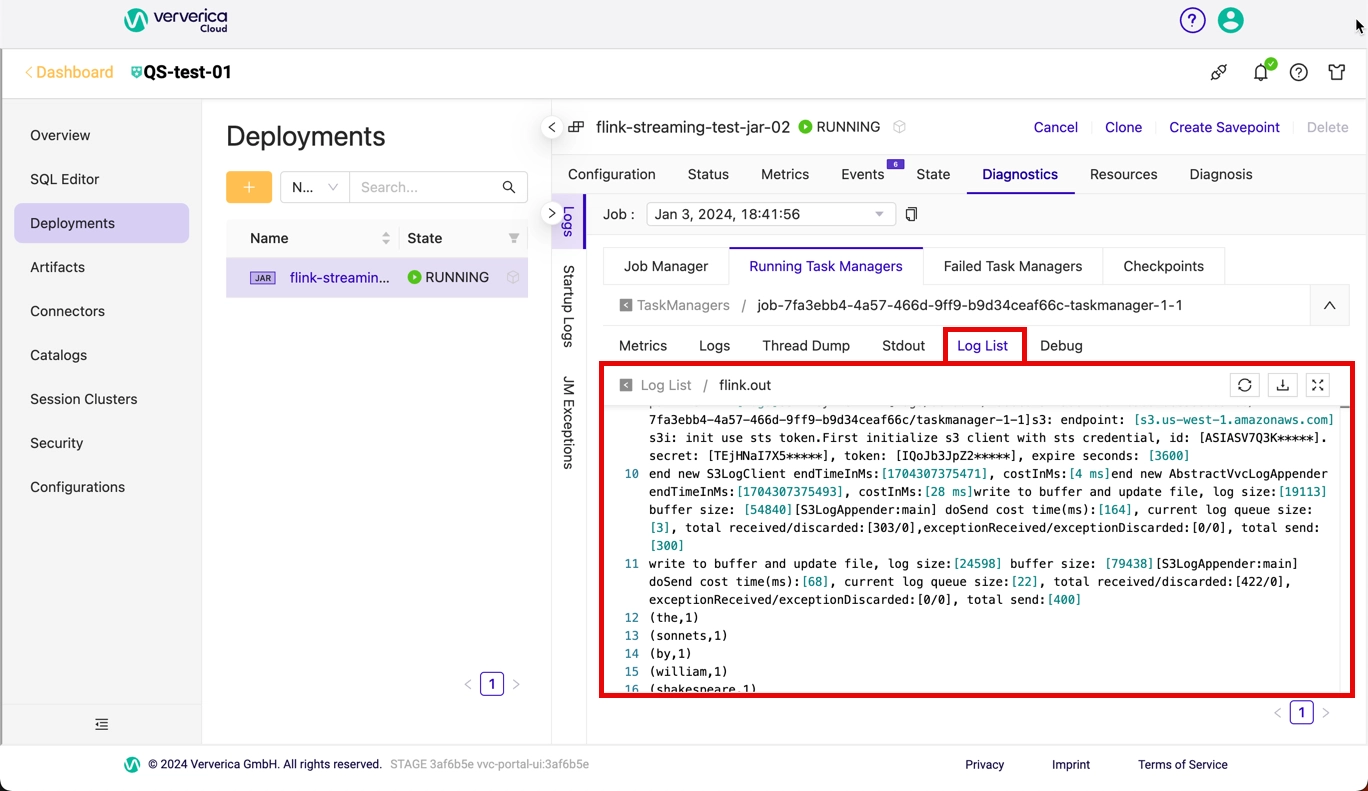
Under the Log List tab, click the
flink*.outfile and you will see the results.